So, you’re new to ManicTime and wondering where to begin? Let’s go over the basics step by step. By the end of this guide, you’ll have a clear understanding of how to get started and make the most out of ManicTime.
1. Create a Subscription and Install ManicTime
The first step is to create a subscription. We offer a 30-day free trial, so you can explore all features before committing. On Windows, you also have the option to run the trial version without a subscription, but you’ll miss out on features like Productivity, Invoices and more. So we suggest you at least try it, then cancel the cloud and buy license if you do not need the cloud features.
Sign up for the cloud here (if you want to try offline Windows version, just skip this step) https://www.manictime.com/pricing
Download ManicTime here: https://www.manictime.com/download/windows
Once installed, connect the tracker to the cloud (or use Trial version if you skipped creating cloud account). Then let it run in the background for at least a few minutes, ideally an hour to collect real data.
2. Understanding Your Data
Once ManicTime is running, it will automatically track your activity. On Tag time (Day view on Windows) you will see four timelines:
- Computer usage timeline - Shows when you were active (green) and when you were away (red).
- Applications timeline - Displays which applications you used and their window titles.
- Documents timeline - Shows the URLs you visited or documents you opened. Note: Not all applications will show document data.
- Tag timeline - we will cover this in next section - Tagging your time.
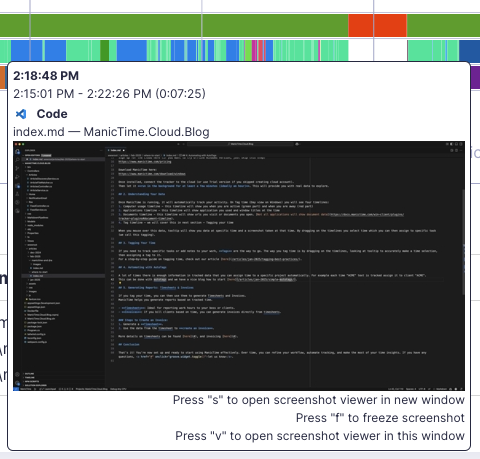
Hover over any data point to see a tooltip with detailed information, including a screenshot taken at that time. By dragging across the timelines, you can select a time range and assign it to a specific task (this process is called tagging).
3. Tagging Your Time
If you need to track specific tasks or add notes to your work, tags are the way to go. The way you tag time is by dragging on the timelines, looking at tooltip to accurately make a time selection, then assigning a tag to it.

For a detailed guide on tagging time, check out our article here.
4. Automating with AutoTags
Often there is enough information in your tracked data to automatically assign time to a specific project. For example, if “ACME” appears in the tracked data, you can automatically tag it as client ACME. This can be done with autotags and we have a nice blog how to start here.
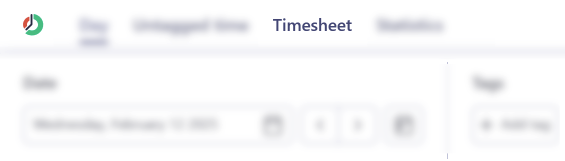
5. Generating Reports: Timesheets & Invoices
If you’ve tagged your time, you can generate Timesheets and Invoices. You can customize timesheet any way you like, include all sorts of columns, then create an invoice from the report.
More details on timesheets can be found here, and invoicing here.
6. Productivity
Once you have some data you can also check out Productivity and Categories, which are there to provide a general overview of your work habits. To get the most accurate insights, review and adjust Productivity settings to better reflect how you work.
Conclusion
That’s it! You’re now set up and ready to start using ManicTime effectively. Over time, you can refine your workflow, automate tracking, and make the most of your time insights. If you have any questions, let us know.